


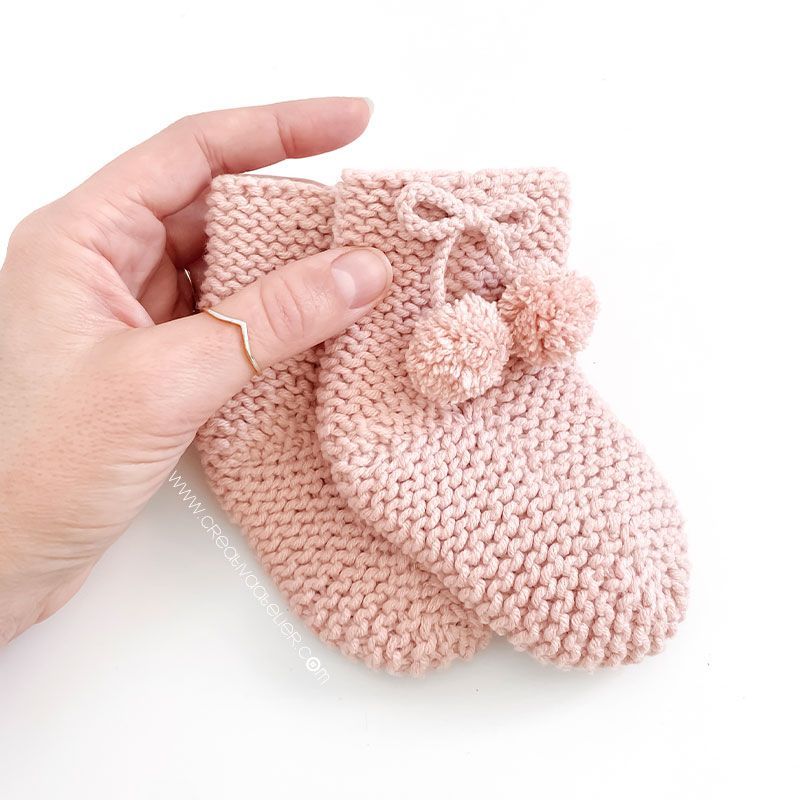
Hi Creatives! Today I want to show you how to knit the easiest baby socks in the world, I promise!
You just need to know how to cast on stitches, knit stitch, make increases, knit two stitches together and bind off stitches. With these simple techniques, you’ll be able to knit a pair of baby socks/booties in no time, suitable for all knitting levels!
These Cutie socks are knit completely flat using straight needles, and once the knitting is finished, we’ll sew the sides, toe and heel with an invisible seam.
We will finish the baby socks by adding a bow with pompoms, a button, folding the cuff, or any detail of your choice.
Materials
1 ball of Katia Albaba (50 gr = 105 m.) Aran / Medium weight. This cotton has been one of my favourites for a long time 🥰. It is the one I used to knit the NUR Kimono, the Nur Legging, the NEO Kimono and the NEO Legging.
3 mm straight knitting needles
Tapestry needle
Gauge
10 x 10 cm = 20 stitches x 44 rows in Garter Stitch
Stitches, techniques and abbreviations
Available sizes
Apart from the free size (3-6 months) that you will find in this tutorial, these knitted baby socks are available in the sizes:
- 0-3 months
- 6-9 months
- 9-12 months

The PDF pattern gives you some extra advantages that will make crocheting much easier
Downloadable pattern
You can download your pattern and use it whenever you need it without depending on the mobile connection.
Ready to Print
You can download your pattern and use it whenever you need it without depending on the mobile connection.
Detailed row-by-row instructions
And stitch by stitch! This way, you don’t have to bother doing the maths yourself.
Garment Chart
You will have a graphic pattern guide where you will see in a very visual way the shape of the garment, the stitches, the rows, etc.
Detailed measurements
You will have all the detailed measurements of the garment
How to knit the CUTTIE Baby Socks/booties – SIZE 1-3 MONTHS
⚠ BEFORE YOU START, IT IS VERY IMPORTANT THAT YOU TAKE INTO ACCOUNT ⚠
- ALWAYS slip the first stitch knit-wise without knitting. This will form “little balls” on the selvedge, making sewing much easier.
- In this pattern, the even rows are rest rows. That is, you must knit all the stitches without increases or decreases.
- You should check your gauge before you start and make sure that it matches the indicated gauge.(20 stitches x 44 rows=10×10 cm) so that your socks will be the desired size. If your swatch is larger, try knitting with 2.5 mm needles; if it is smaller, try with 3.5 mm needles.
You will find all the instructions to make these knit baby socks in size 3-6 months in the following images and text. You can also watch the video tutorial:
Turn on English subtitles by clicking the CC icon at the bottom right corner of the video
Knit the back ankle
Cast on 14 stitches on your needle to form the back ankle of the sock or knitted bootie.

Once the stitches are cast on, knit 26 rows in garter stitch. I recommend slipping the first stitch knit-wise without knitting to form an even edge for easy sewing.

Shape the heel
We will begin to decrease to form the heel.
Odd rows: k1 , k2tog, k until there are only 3 sts left, k2tog, k1.
Even rows: knit all the sts.
Work in this way until you have 4 stitches on your needle.

Once you have 4 stitches, knit the next even row, and we will start working increases on the odd rows to continue shaping.
Odd rows: k1, M1R, k until there is only 1 st left, M1R, k1.
Even rows: knit all the sts.
Work in this way until you have 14 stitches back on the needle.

Knit the sole
From here, we will begin to form the sole of our knitted baby sock.
Work 21 rows in garter stitch.

Shape the toe
We will form the toe of the knitted sock in the same way we knitted the heel. We will start knitting decreases until we have 4 stitches, and we will continue knitting increases until we have 14 stitches.


Knit the instep and front of the ankle
Once the toe area is finished, we will knit the instep and the front ankle of the sock. To do this, we will work 47 rows in garter stitch and bind off all the stitches.

Cut the yarn leaving a long tail. We will use this tail to sew our knitted baby bootie.

Sewing and finishing
Fold the sock in half to match the top and bottom edges.
We will sew an invisible seam from top to bottom until we reach the area of the decreases.


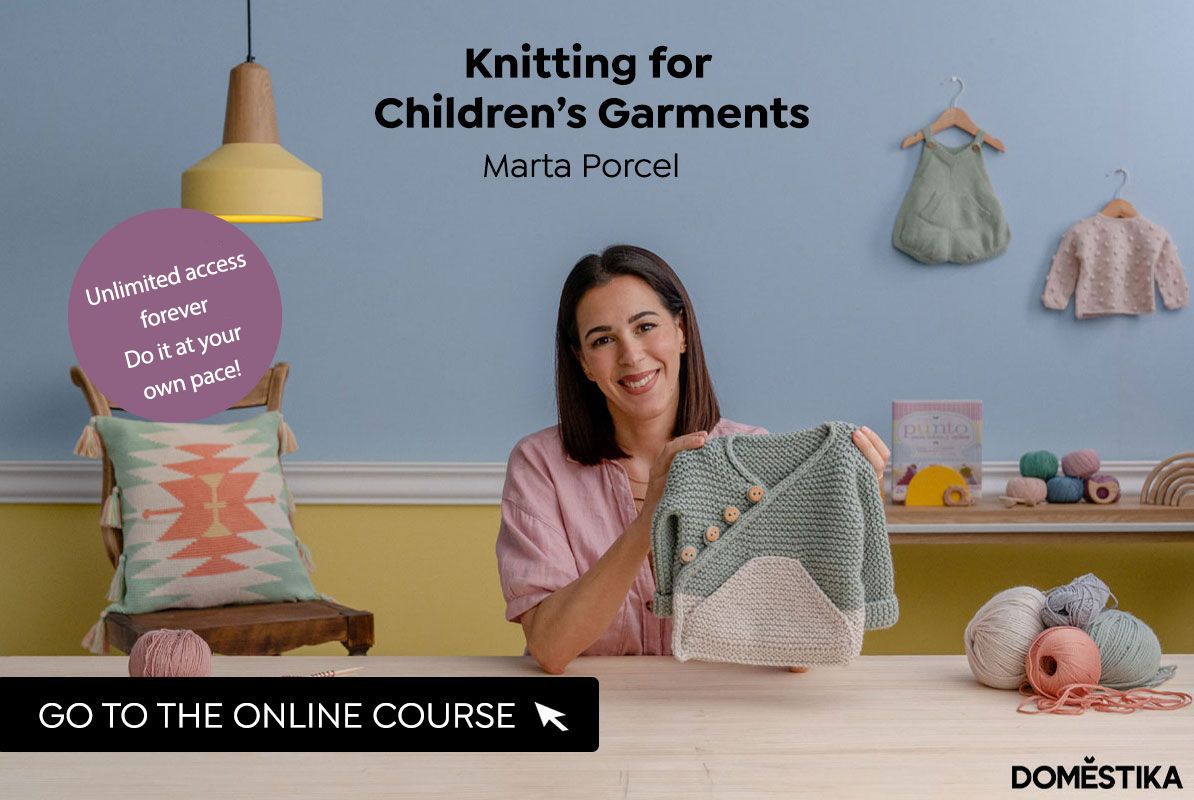
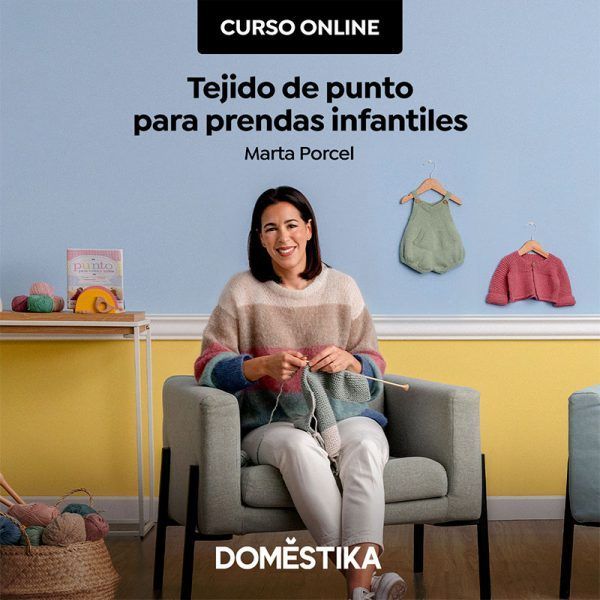
If you don’t know how to work an invisible seam and/or want to improve your finishes and knitting in general, I invite you to participate in my online course “Knitting for children’s garments”, where I tell you this and much more. You can use the code CREATIVAATELIER-SAVE to get a 10% discount on any of my courses.
-
Product on sale
 ONLINE COURSE – Top-down Technique for Children’s KnitwearOriginal price was: 59,90€.6,99€Current price is: 6,99€.
 -
Product on sale
 ONLINE COURSE – Knitting for Children’s GarmentsOriginal price was: 59,90€.6,99€Current price is: 6,99€.
Leave the heel area unstitched and continue sewing the sole to the instep.


You will see that you are left with a small diagonal opening. Don’t worry; we’ll sew it later.

Continue sewing the toe area. When you reach the tip, pass the thread between the stitches to continue sewing the other side.

You must continue sewing the other part of the sole and the instep until you reach the heel again, which you will leave unstitched.

Sew the ankle of the knitted sock to the top. When finished, cut the yarn and weave in the loose end.

Finally, sew the two openings left in the heel.

We can already see the final shape of our knitted booties! All that’s left is to add the personal touches. I have made a cord with two pompoms at the ends to make a bow.
You can learn how to make this type of handmade cord in this video:
Turn on English subtitles by clicking the CC icon at the bottom right corner of the video
Your baby socks are ready! A cutie to make in all colors for your little one or to become the ideal gift.

As I told you in the materials section, they are knitted with the same cotton as the Nur Kimono, making the perfect pair together 🥰.
-
 NUR Knitted Kimono PatternPrice range: 2,99€ through 9,99€


If you thought that knitting baby socks were too complicated, that it required advanced techniques, that you needed circular needles and small cables and that it wasn’t for you, erase that idea from your head because you’ve already seen that it’s much easier than it looks! 🤗
If you enjoyed this tutorial and found it inspiring, I’d love to hear your opinion and read your comment below! And if you share your discovery, it will reach more people.
When you have finished your CUTIE scoks, show off the result on social media with the hashtag #CUTIEscoks and #creativaatelier, so we can all enjoy your creation.
Best!

Design, images and pattern © 2022 Creativa Atelier by Marta Porcel. All rights reserved.
Please respect the designers and their intellectual property. Pattern for personal use only. Do not distribute copies in physical or digital format. Using this pattern to make products for sale, workshops, or any other commercial activity is not permitted. If you have any doubts about what you can do, please write contact me at marta@creativaatelier.com
