


Hello creatives! Today I want to teach you how to knit an adorable baby blanket. A perfect option to knit as a gift for a newborn or make the wait more enjoyable in your own pregnancy 🥰 If you want a personalized gift, different and made with your own hands, grab your needles and yarn!
The OCEAN knitted blanket is made entirely in jute stitch, a type of stitch that imitates the texture of the fabric and that we will achieve by using slipped stitches. Don’t be impressed; it’s a very easy stitch to master. If you know how to knit and purl, it won’t have any secrets!
Materials
- 4 balls of bulky cotton. I used Cotton Fresh from Knitive (100 gr = 142 m).
- 6 mm straight knitting needles.
- Tapestry needle
Gauge
10×10 cm = 17 stiches x 28 rows in garter stitch
Stitches, techniques and abbreviations
- Cast on
- Knit stitch (k)
- Purl stitch (p)
- Rib stitch
- Jute stitch
- Bind off
Finished measurements
65 cm x 83 cm
How to knit JUTE Stitch?
The jute stitch is similar to 1×1 rib stitch, but using slipped stitches. It is formed by repetitions of two rows:
- Row 1. Right side. Slip the first stitch without knitting knitwise, bring the yarn forward, * p1, slip 1 purlwise*, repeat from * to * until there is only 1 st left, k1. To always know which stitch to work and which to slip, remember that in this row, you should only purl the purl stitches from the previous row, and slip purlwise the knit stitches.
- Row 2. Wrong side. Slip the first stitch without knitting knitwise, *k1, p1* , repeat from * to * until there is only 1 st left, k1. That is to say, you must work the stitches as they appear.
We will repeat these two passes until the pattern indicates us.
You can learn how to knit the Jute stitch, which is the main stitch of the OCEAN baby knit Blanket in this video:
OCEAN Blanket Knitting PATTERN
- Cast on 115 stitches
- Work 2 rows in 1×1 rib stitch
- Work 196 rows in Jute Stitch Punto Yute (or until you get 82 cm long)
- Work 1 row in 1×1 rib stitch
- Bind off all the sts.
Don’t worry if you still can’t see the pattern forming in the first few rows. This will start to be visible from the 7th row onwards.
You should slip the first stitch knitwise and knit the las stitch of every row to get even edges.
Finishings
Weave in loose ends.
Blocking
To get your blanket into the perfect shape and even your sttiches, it is advisable to block it once it is finished. To do this, follow the steps below:
- Dampen the blanket with a spray bottle.
- Lay the blanket on a padded surface and pin in place.
- Place the iron at a distance of 3 to 5 cm and pass the steam over it for a few seconds. Do not iron the blanket, just expose it to the steam.
- Allow the blanket to set with the pins in place. You must allow time for it to dry completely before removing the pins.
Add tassels
Finally, divide the remaining cotton into 4 equal balls. Make 4 tassels as follows:
- Cut a small piece of cardboard measuring 9 cm. in height.
- Cut two pieces of cotton approximately 30 cm. long and reserve them for later.
- Start wrapping one of the 4 cotton balls around the cardboard until the material is finished.
- Take one of the threads you had cut earlier, pass it under the threads wound on the cardboard and knot it at the top end.
- Cut the strands at the lower end and remove the cardboard piece.
- To secure all the tassel strands, take the other small piece of cotton you cut in step 2. Knot it at the top and wrap it twice around all the strands.
- Finally, hide the loose ends with the help of a tapestry needle.
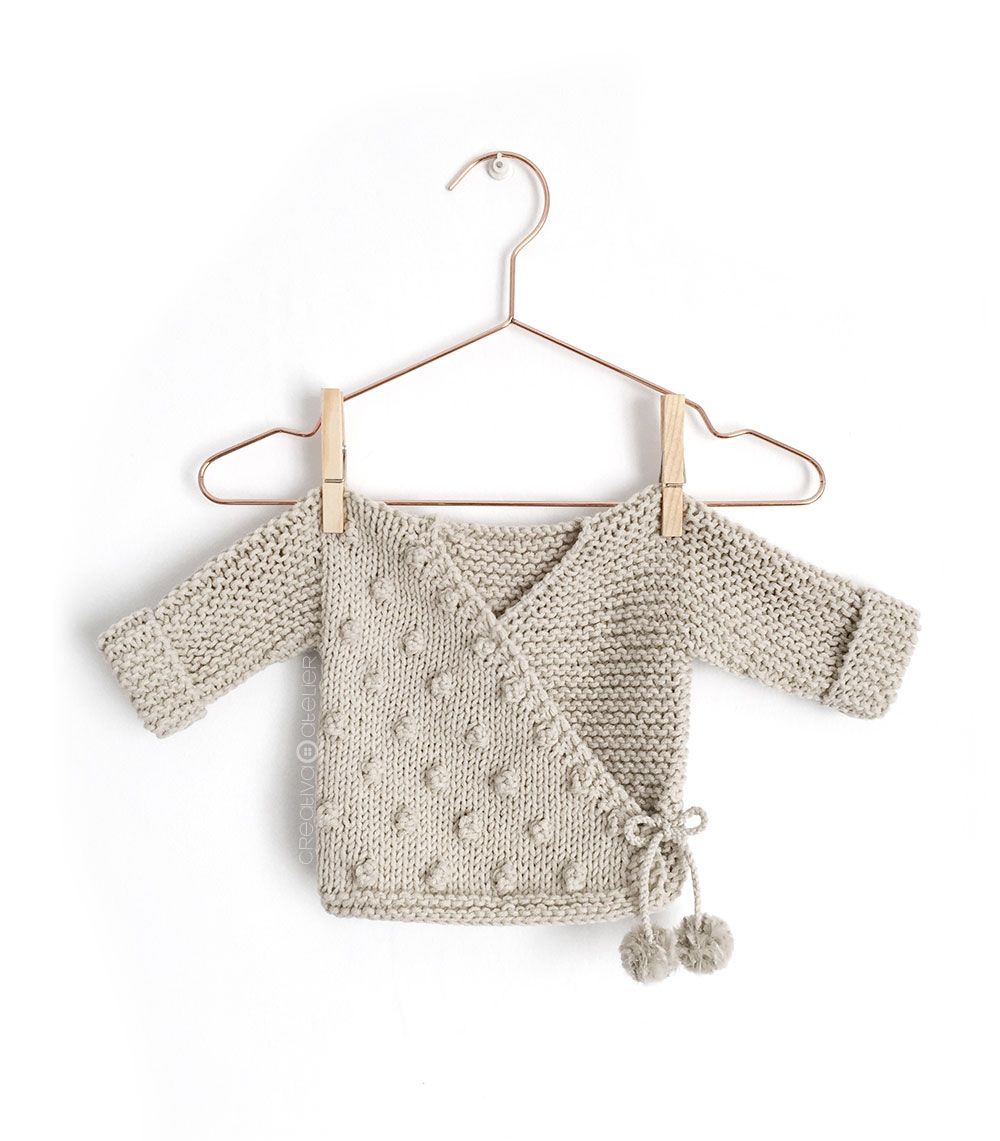
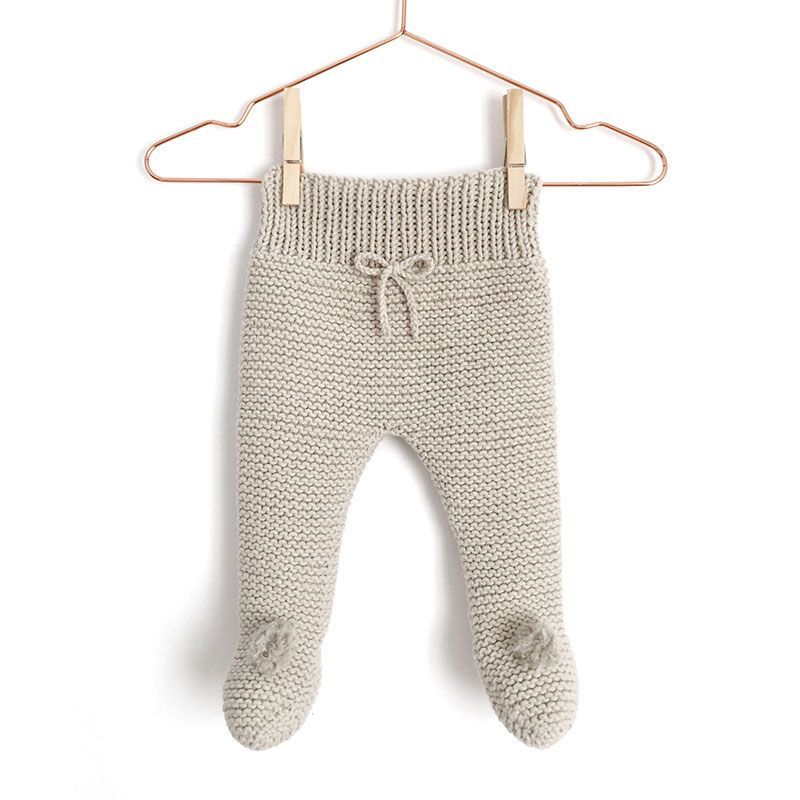
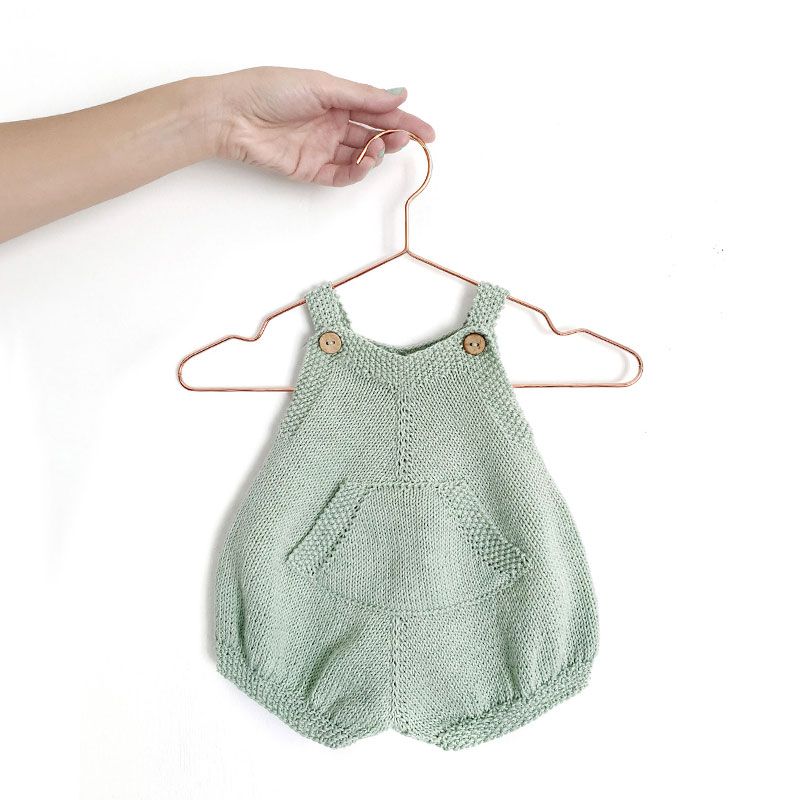
To complement this handmade knitted blanket, I also leave you these patterns and tutorials for baby clothes that you will love!

If you liked this tutorial and it inspired you, I’d love to hear your opinion and read your comment below! And if you share your discovery, it will reach more people! 🤗
Once you have finished your Ocean knitted baby blanket, show off the result on social media with the hashtags #oceanblanket and #creativaatelier, so we can all enjoy your creation.
Kisses!

 PURE Knitted Sweater-Pattern and tutorial