


If you’ve seen the final picture of the Knitted Baby Legging that I showed you in today’s tutorial, you probably thought that it must be too hard to do, that you’ll need circular needles, master a lot of advanced techniques, that it’s not a project suitable for beginners and many other things! … But, that is definitely not true!
Today I come to demystify knitted leggings (as we did with the knitted booties) so you can see that it is sooooo much simpler to knit them than it might seem at first glance. You will not need circular needles, you can knit them flat using your usual straight needles, and if you know how to knit Garter stitch, knit two stitches together and make an increase, this project is for you!
Materials to make the NUR Knitted baby Legging – Size NEW BORN –
- 100 gr. of cotton yarn(or wool) for 4 mm needles. I have used the same cotton that I used to knit the Nur Kimono. In both cases, two balls of 50 gr. of Katia Alabama cotton thread in color 9- Light Beige.
- A pair of 3 mm straight knitting needles. We will use a smaller needle number than that indicated by the manufacturer so that the fabric is much denser. Garments that are worn on the upper body are usually worn with bodies or undershirts, so we do not mind that the stitch is looser (this will also give you more drape), but for leggings, since they are worn alone, it is convenient that there are no holes between stitches.
- 1 Stitch holder
- 1 tapestry needle
Required Knitting stitches and techniques
- Cast on
- 1×1 Rib Stitch
- Garter stitch
- Knit a stitch Front and back
- Cast on stitches at the edge
- Bind off
… to be able to correctly join the sides of our leggings when finished knitting, you must ALWAYS slip the first stitch without knitting. This will make them form some “bumps” on the selvage that will make sewing a lot easier.
… in this pattern, the even rows or wrong side are resting rows, that is, you will have to knit all the stitches without making increases or decreases.
…It is a good idea to check your gauge before starting. If you knit 20 stitches for 44 rows in Garter stitch, these stitches should measure 10 cm. If your gauge swatch matches the gauge of your pattern, then you’ve achieved the correct gauge! If your gauge is smaller, you can either switch to a larger needle size or use a heavier weight yarn. If your gauge is bigger, you can switch to a smaller needle size or use a thinner weight yarn. If you prefer to go ahead without checking your gauge, just make sure that your Baby Knitted legging should be 19 cm. wide.
Apart from the pattern being shown in one size as usual, you can make this pattern in 3 different sizes! This pattern of Knitted baby Legging is available in size 1-3 months, 3-6 months, and the one shown in the tutorial that is size New Born.
You will find the instructions to knit this baby legging on the text and images, but if you prefer to download the pattern to get row by row instructions and print it to make notes without relying on the cell phone or internet connection, you are in luck because everything is ready for you!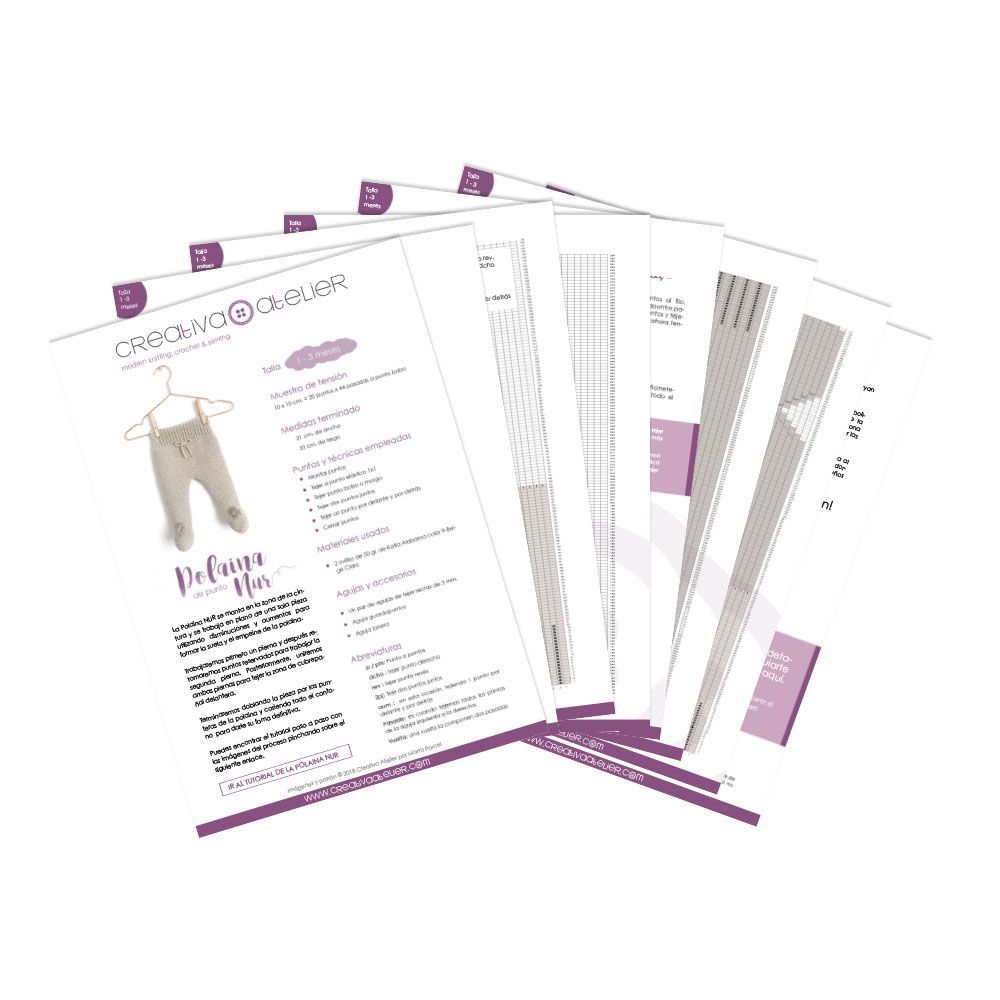 You can find all the downloadable and printable patterns with the 3 sizes that I just mentioned here or by clicking on the button below.
How to make a Knitted Baby Legging
– Size New Born –
1. Knit the back area of the diaper cover of the Knitted Leggings
We will start by casting on 40 stitches and doing a 1 x 1 rib stitch for the first 16 rows. If you do not know how to knit this stitch you can learn by watching this video. The rib stitch is achieved by alternating a knit stitch, a purl stitch until the end of the row.
Once the waistband is finished, you will have to knit 40 more rows in Garter stitch, before making the separation for the legs of the baby leggings.

2. We knit the first leg of the Garter Stitch Leggings
To begin forming the first leg, you must knit 19 stitches and reserve them on a stitch holder. Bind off the next 2 stitches and knit the rest of the row. You should have 19 stitches on your working needle.

Knit these 19 stitches for 3 rows before starting with decreases for the leg. On the fourth row, slip a stitch (as always when we start a row) knit two stitches together and knit the rest of the row. In this way, we will make a row of decrease every 5 rows until we only have 14 stitches on the needle.
 Knit these 14 stitches for 25 more rows. It is time to start shaping the heel of the Baby Knit Leggings.

3. Knit the heel, the sole and the instep of the Leggings
To shape the heel area, you should decrease one stitch at the beginning and end of the next row. That is; slip the first stitch, knit 2 stitches together, knit until only 3 stitches remain, knit 2 stitches together and knit the last stitch. Knit the next row normally and the next one should make a decrease again on each side. Continue in this way until you have 4 stitches on your needle.
We will continue knitting in the same way the next 10 rows, only that this time, instead of making decreases, we will increase until we have 14 stitches again. That is, you must slip a stitch, knit a stitch in front and back, knit until you have two stitches, knit a stitch in front and back and knit the next stitch.
Continue forming the heel, the sole and the instep as indicated by the images.

4. Finished knitting the first leg
To finish the first leg of the knitted leggings, increase 1 stitch at the beginning of the row (slip a stitch, knit a stitch in front and back, knit the remaining stitches). Repeat this increase every 5 rows until you have 19 stitches. Knit 3 more rows and reserve these 19 stitches on a stitch holder.


5. Knit the second leg of the Baby Leggings
Take the stitches you had reserved on a stitch holder for the second leg and knit the same way we did with the first. You should keep in mind that the decreases and increases to make the crotch area should be done at the end of the row, instead of at the beginning of the row. That is; in the case of decreases, you will have to knit all the row and when you only have 3 stitches left, knit 2 stitches together and knit the last stitch.
If you find it easier, remember that you can also have the downloadable and printable PDF pattern in the Newborn size for only € 1.99. In it you will find all these detailed instructions row by row so you do not miss a stitch! Click here to get it or on the following link.

6. Knit the front of the diaper cover area of the Leggings
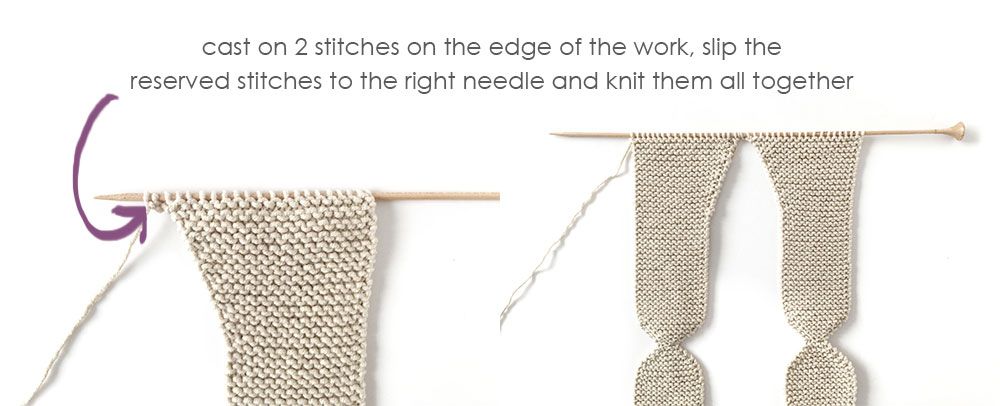
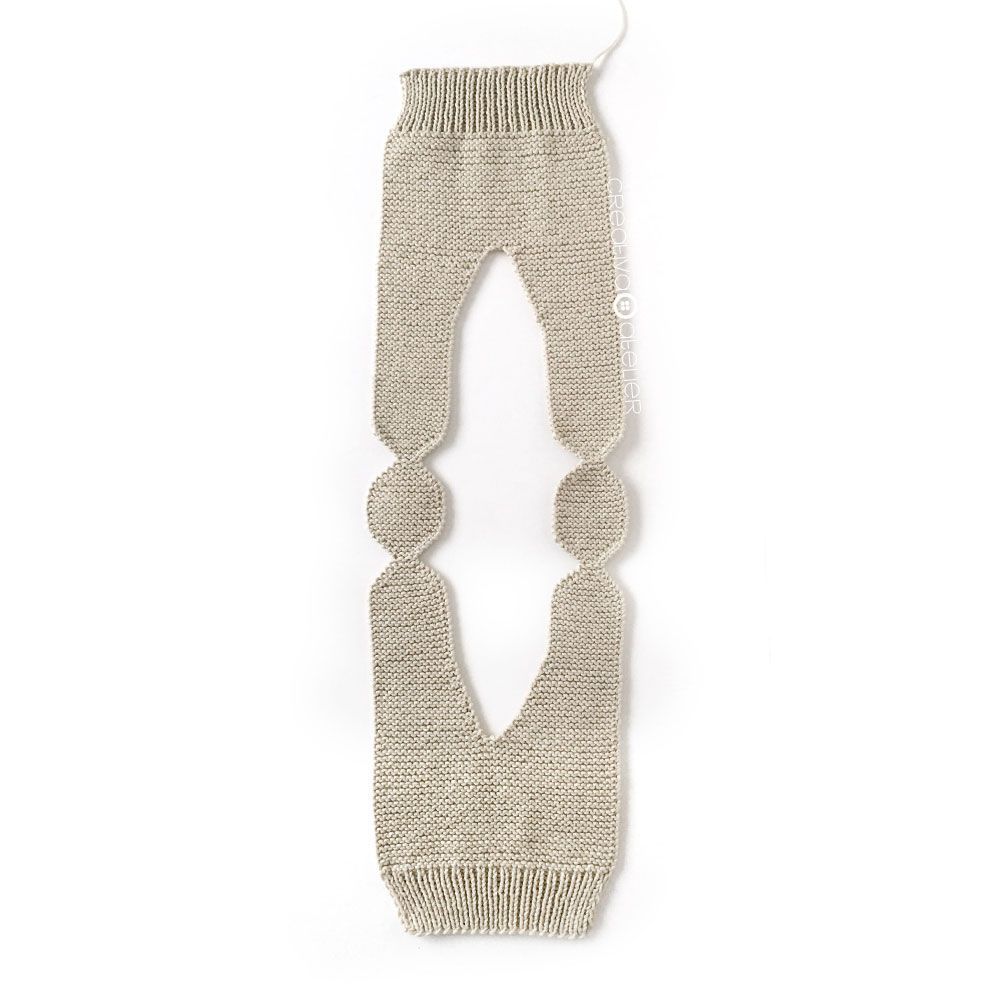
To join the two legs and begin to form the front cover, you cast on 2 stitches on the edge of the work, slip the reserved stitches to the right needle (the needle without any stitches) and knit them all together. In this way, you must have a total of 40 stitches.
Knit these 40 stitches for 39 rows in Garter stitch and end by knitting 16 more rows of ribbing. Bind off all stitches.


7. Seam the sides of the Knitted Leggings
Once you have finished the knitted leggings, it’s time to seam them to give them their final shape.
Fold the leggings through the toes and start seaming from the waistband down. You can learn to do an invisible seam in Garter stitch by watching this video.

When you reach the heel area, make a fold, as shown in the following images, and join it. Then, continue joining the heel to the instep and when you reach the toe, pass the needle between the 4 stitches of it and continue sewing the inner part of the leg.

You can check out a step-by-step tutorial on how to sew leggings in this video As you can see, the video focuses on the construction of knitted baby socks, but the process is the same. You will find the joining part starting at minute 5,1.
8. Final touches
You can keep the NUR Knitted Baby Legging as is, or you can add some details. In this case, as I have knitted them as set with the NUR Knitted Kimono, I have decided to put a bow on the front (it is a simple crochet chain) and two pom-poms on the feet.

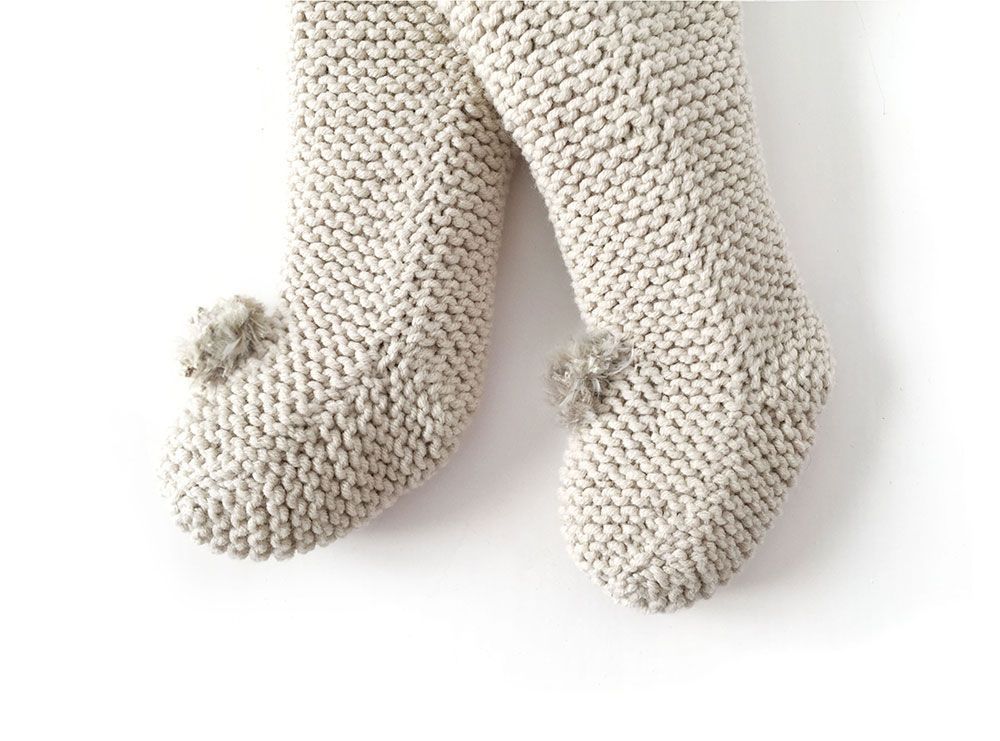
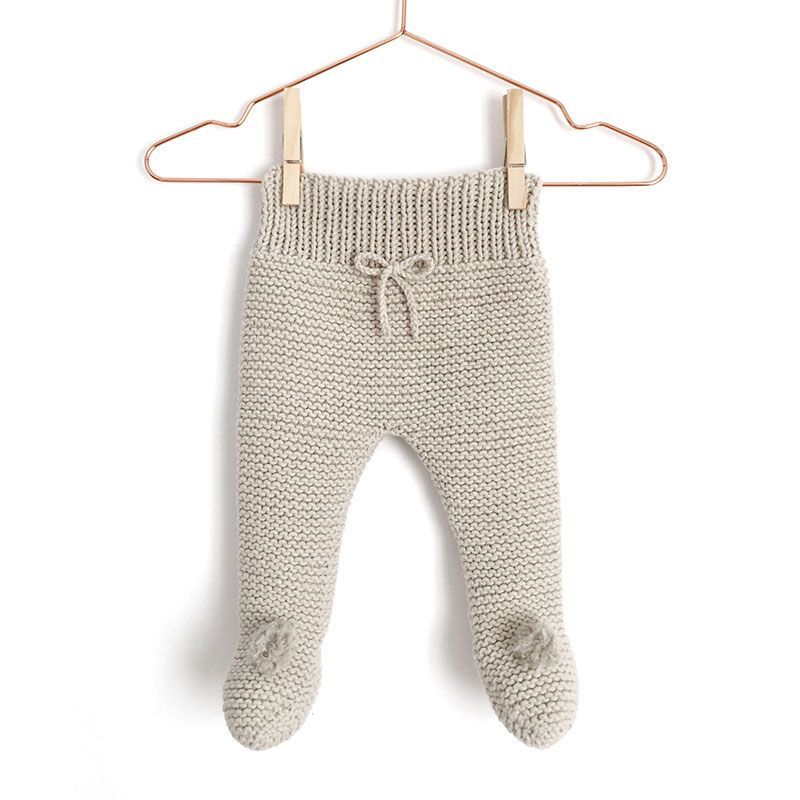


As you can tell, it is much easier than it seems and the result is perfect!
As I told you, I knit these baby leggings as a set with the Kimono of the previous post, using the same cotton. By the way, this Kimono is also available in size New Born, 1-3 months, 3-6 months, 6-12 months and 12-24 months.

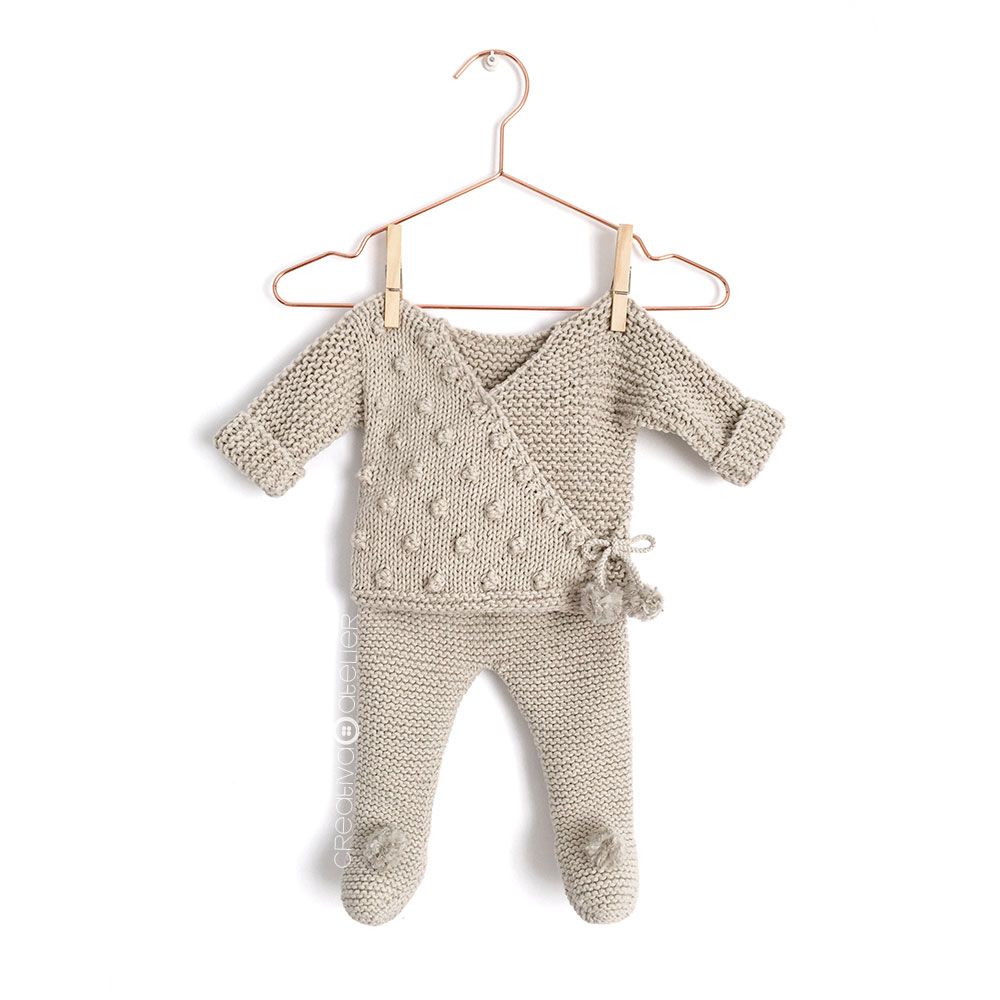
What do you think of the set? Apart from being pretty, it is the most practical garment for a baby!
If you liked this tutorial and it has inspired you, comment and share your discovery! And of course, once you have finished your Knitted Baby Legging, do not forget to show off the result on social networks with the hashtag #nurlegging and #creativaatelier.
Kisses!

This pattern is for personal use only. Please do not claim this pattern as your own, or sell or distribute it. If you would like to share this pattern, please link to this site and do not repost the pattern on your site. You can sell finished items made from this pattern, but please link back and give credit to Creativa Atelier. Please, respect designers and their Intellectual Property. Thanks!
 Knitted Kimono – NUR Baby Jacket Pattern & Tutorial
Muy lindo, gracias por compartir tus habilidades con todas las tejedoras.
Please help! I’m a bit confused about the decrease in gin the leg every 5 rows… does that mean, I do 4 normal rows then 1 decrease or 5 normal rows and 1 decrease? If I try it the first way, the decreasing will be on different sides but if I do the second, I may get too many rows!
Thank you in advance!
Hi Rebeca, You have to knit 5 rows and make the decrease in the 6th row. If it’s easier for you, remember that you can get the downloadable and printable PDF pattern in my online store. In it you will find all these detailed instructions row by row and diagrams of the garment, so you won’t miss any stitches!
Such a fun pattern! Can’t wait to try it!
Could you give tips to adapt the size for 9-12 months (70)?
Don’t no how to sew foot part together it’s say fold legging through foot please what does that mean please help thank you
Hi Marta! Thank you for this great pattern!
I have a question: when knitting the decrease rows, do you knit a normal (non decrease) row of the 4 stitches before starting the 10 increase rows? And similar situation, when you knit the increase row, before knitting the 25 rows in garter stitch, is the last row an increase row or a non increase row?
Thanks in advance for the help, and thank you again for your wonderful patterns!
Alice
EEEK! I cannot wait to knit this for my great niece.
Thank you so much!
How does one do the bow on the leggings
Very very lovely